
In this article:
Fishing is a popular pastime enjoyed by many outdoor enthusiasts. While there are various types of fishing rods available in the market, building your own fishing rod can be a rewarding experience.
Not only does it allow you to customize your rod to suit your preferences, but it also gives you a deeper understanding of the components and craftsmanship involved.
In this article, we will guide you through the process of making a fishing rod from scratch.
Materials Needed
Before we delve into the steps, let’s first gather the materials you’ll need to make a fishing rod:
- Fishing rod blank
- Reel seat
- Handle material (e.g., cork or EVA foam)
- Fishing rod guides
- Thread
- Rod wrapping epoxy
- Sandpaper
- Rod finish
- Rod dryer (optional)
- Rod stand (optional)
Now that we have all the necessary materials, let’s move on to the step-by-step process of making a fishing rod. In Stardew Valley, players often wonder how to optimize their fishing experience; a crucial step is learning how to attach bait to the fishing rod for better catches.
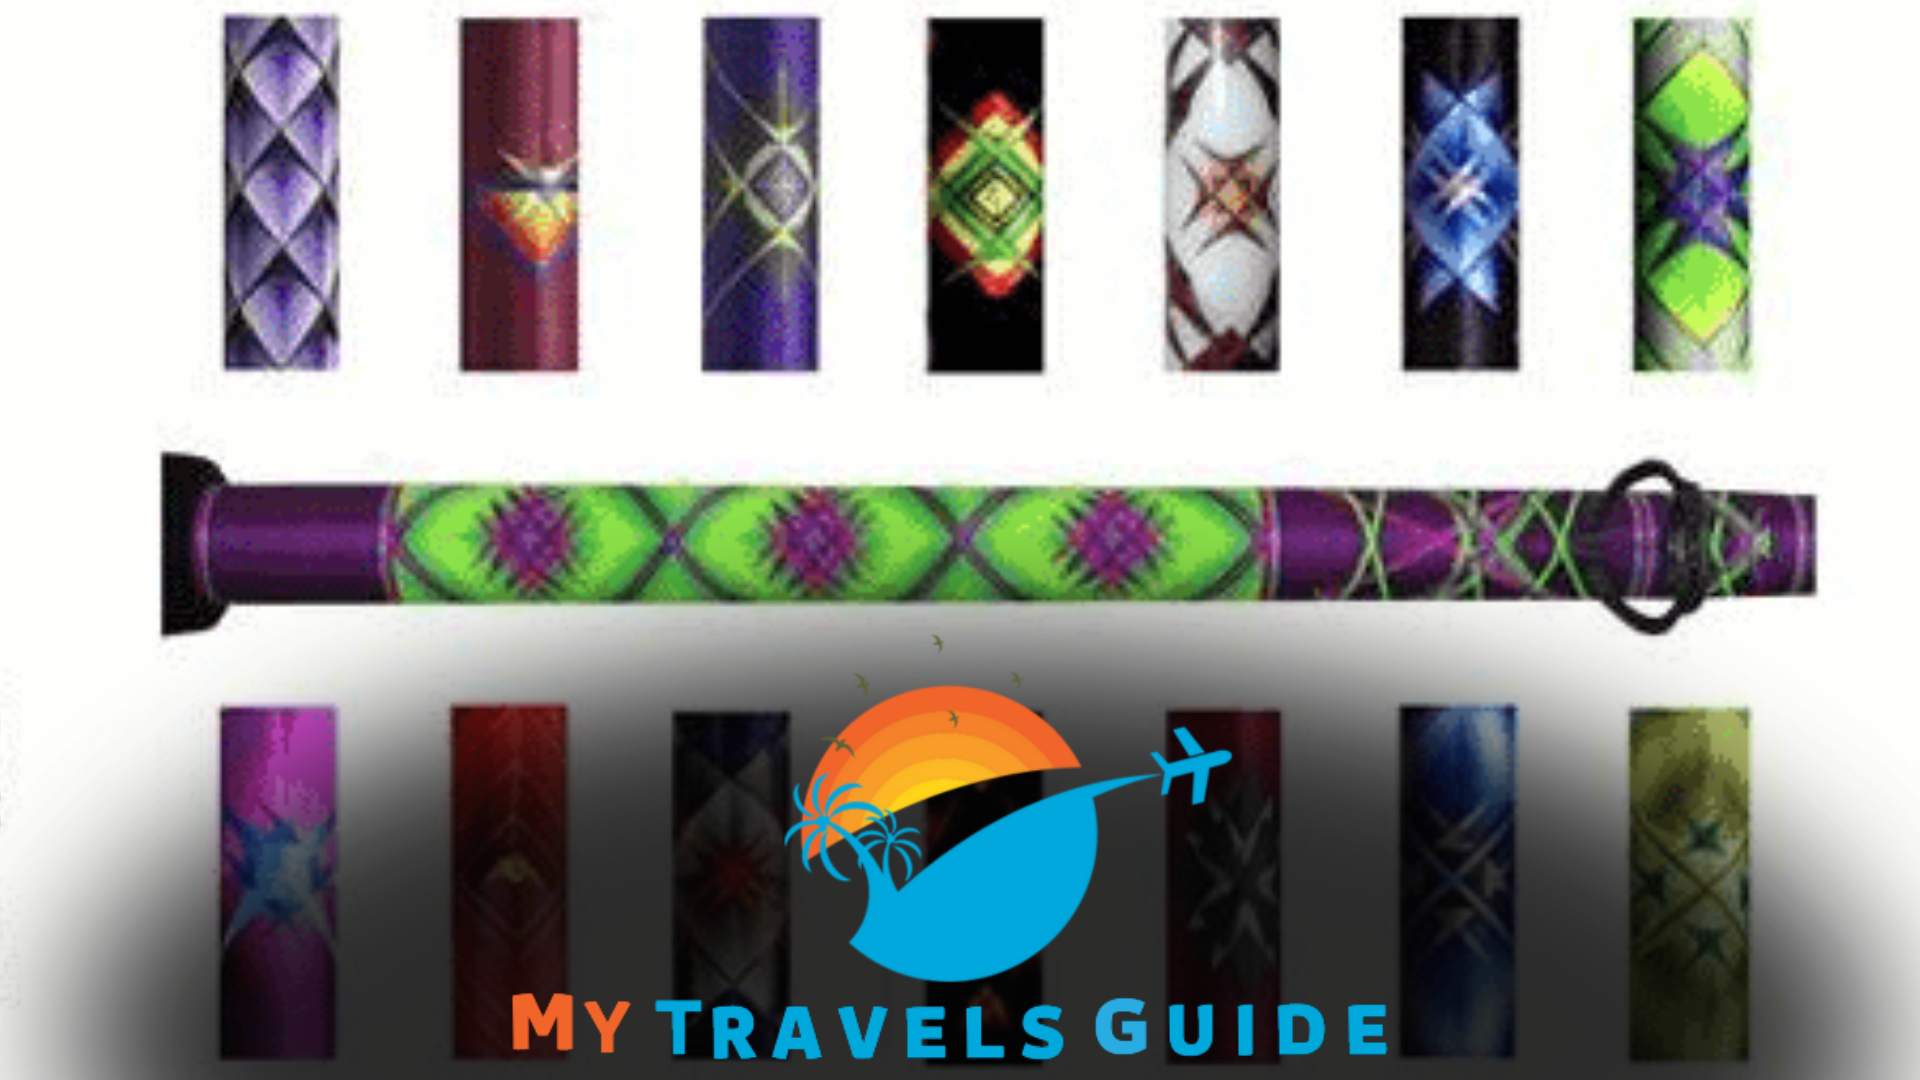
Step 1: Selecting the Fishing Rod Blank
The fishing rod blank serves as the foundation of your fishing rod. It determines the rod’s length, action, and power. When selecting a blank, consider the type of fishing you’ll be doing and the species you’ll be targeting.
Blanks are available in various materials, such as graphite, fiberglass, and composite. Each material has its own characteristics, so choose one that aligns with your fishing style and preferences.
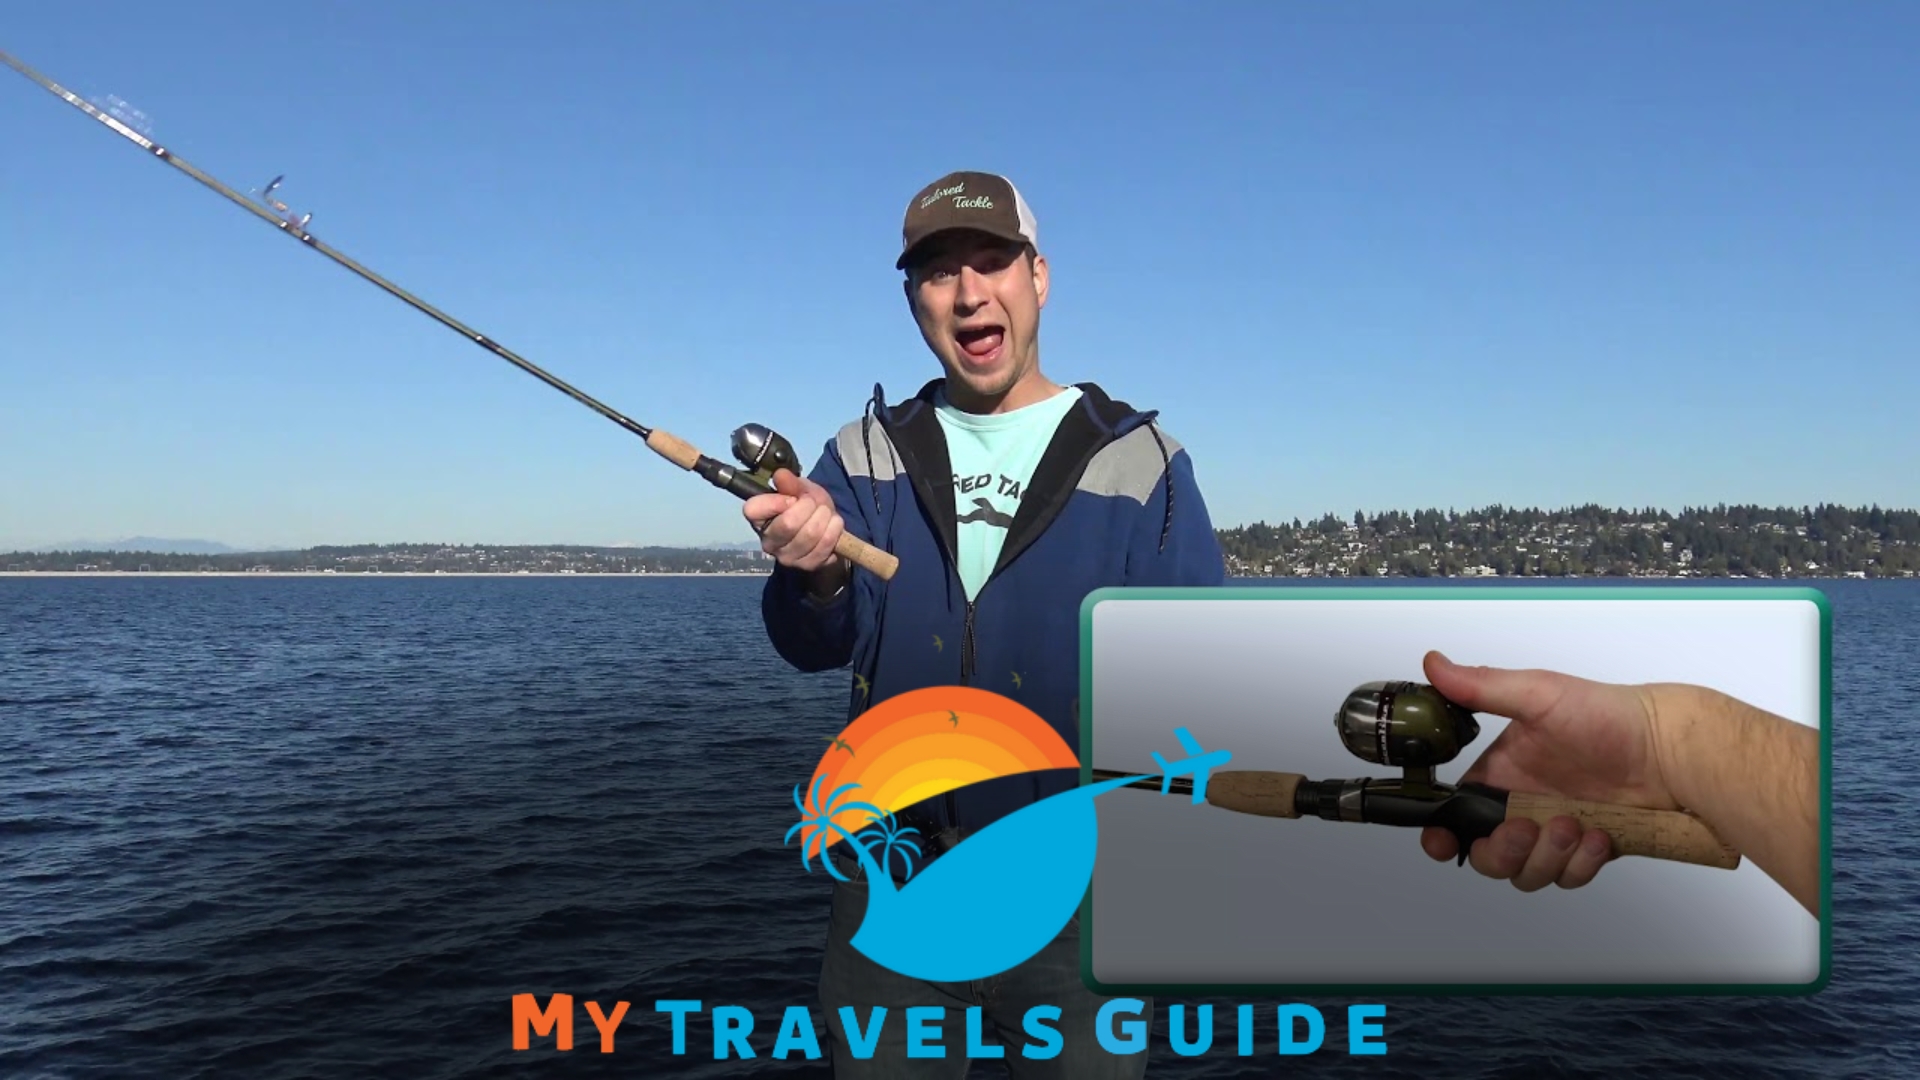
Step 2: Choosing the Reel Seat and Handle
The reel seat is where you’ll attach your fishing reel. It’s important to choose a reel seat that matches the size and type of your reel. Additionally, select a handle material that provides comfort and grip.
Cork and EVA foam are popular choices due to their durability and tactile feel. Consider the length and shape of the handle, as it can affect the rod’s balance and ergonomics.
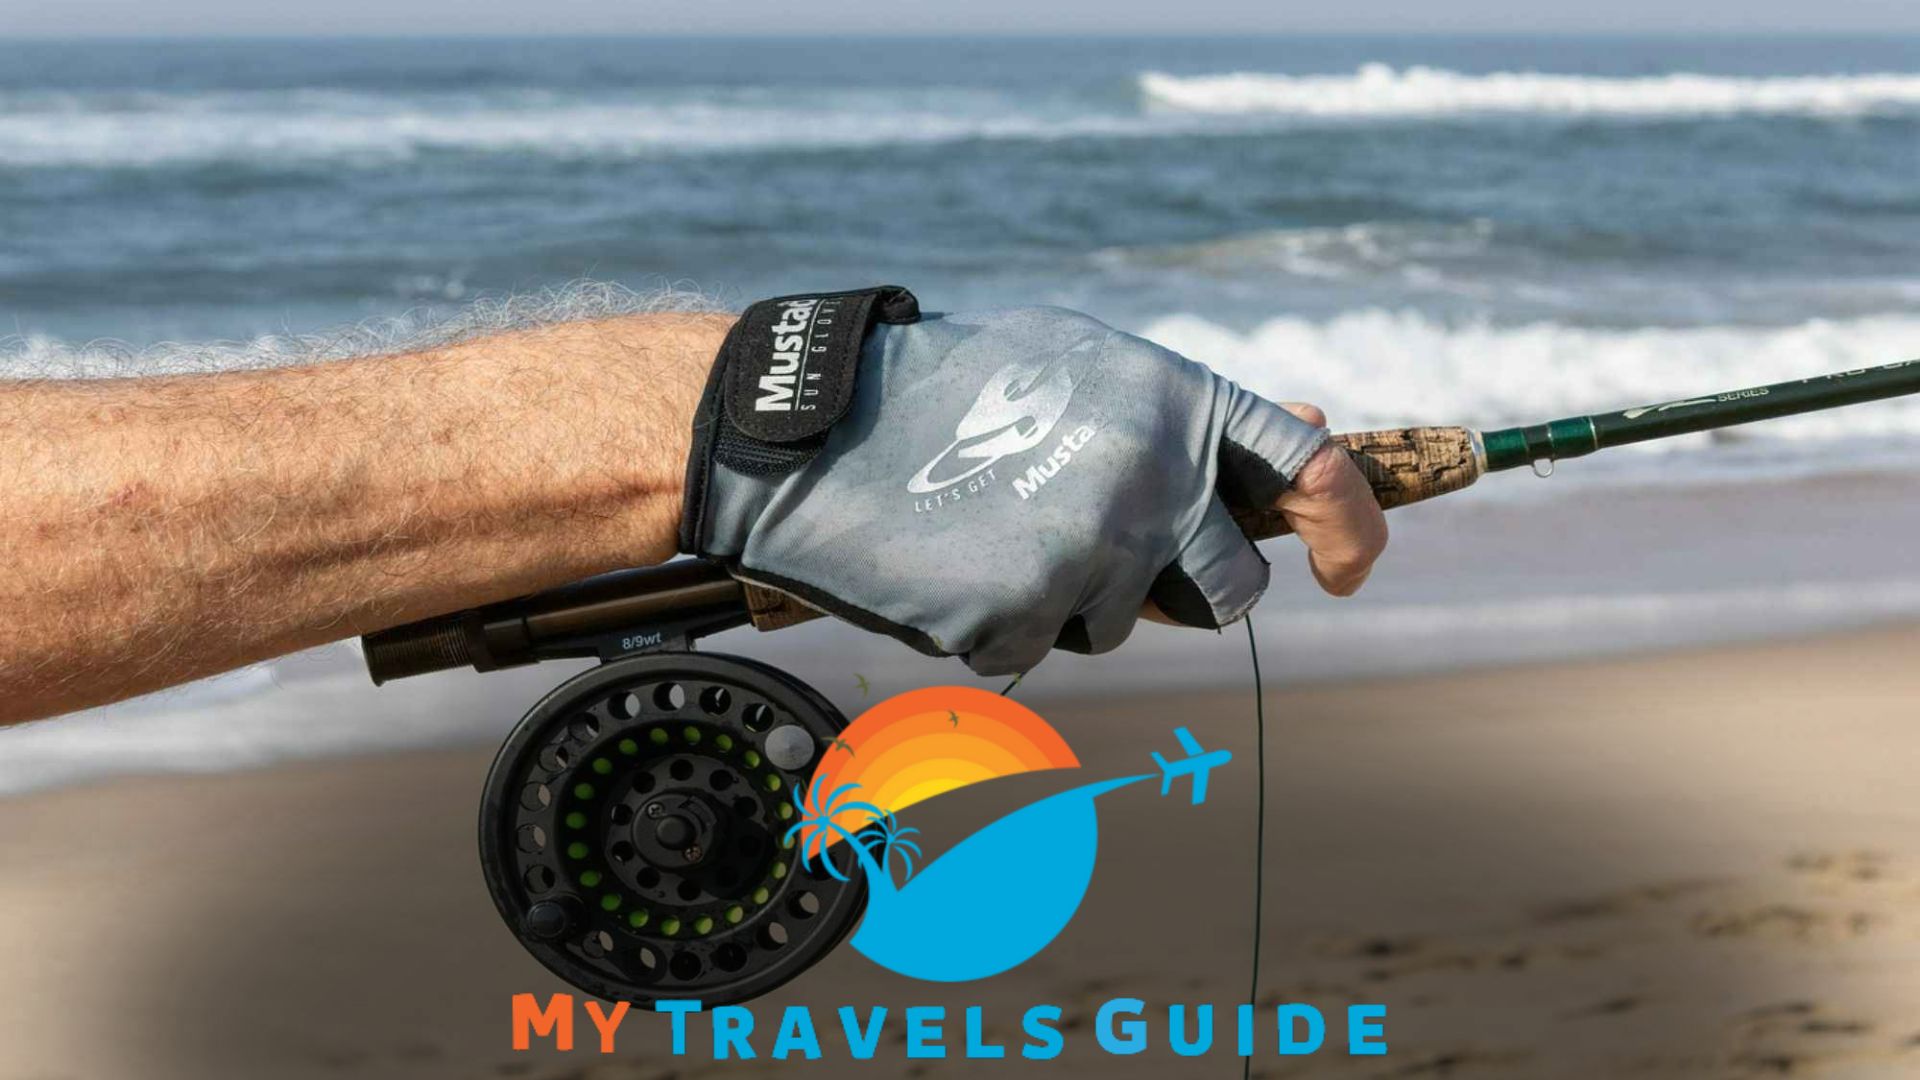
Step 3: Attaching the Reel Seat and Handle
To attach the reel seat, position it on the rod blank at the desired location. Ensure it is aligned properly and use epoxy or rod bond adhesive to secure it in place.
Once the reel seat is attached, it’s time to install the handle. Apply adhesive to the handle material and slide it onto the rod blank, covering the reel seat.
Make sure it fits snugly and aligns with your preferred grip position.

Step 4: Installing the Guides
Fishing rod guides are essential for guiding the fishing line along the rod’s length. Start by placing the tip guide at the top end of the rod blank.
Then, space out the remaining guides evenly along the blank, taking into account the rod’s length and action.
Guides are typically made of ceramic or stainless steel, with ceramic being more sensitive and suitable for casting rods, while stainless steel is more durable and ideal for heavy-duty applications.
Step 5: Wrapping the Guides
Once the guides are positioned correctly, it’s time to wrap them onto the rod blank. Start by securing the thread to the rod above the guide foot.
Make tight and overlapping wraps around the guide foot and the blank to create a secure hold. Continue wrapping towards the guide tip, ensuring the wraps are neat and evenly spaced.
Once you reach the tip, secure the thread and trim off any excess.
Step 6: Applying Epoxy
After the guides are wrapped, it’s important to protect them and create a smooth surface. Apply epoxy coating over the thread wraps using a small brush or a specialized epoxy dispenser.
Make sure to cover the wraps completely and remove any air bubbles. Allow the epoxy to dry according to the manufacturer’s instructions.
For a professional finish, consider using a rod dryer to rotate the rod and prevent the epoxy from sagging.
Step 7: Finishing Touches
To give your fishing rod a polished look, sand down any rough areas or imperfections. Use fine-grit sandpaper to smooth out the handle and reel seat.
Once you’re satisfied with the smoothness, apply a final coat of rod finish to protect the rod and enhance its appearance. Allow the finish to dry thoroughly before handling or storing the rod.
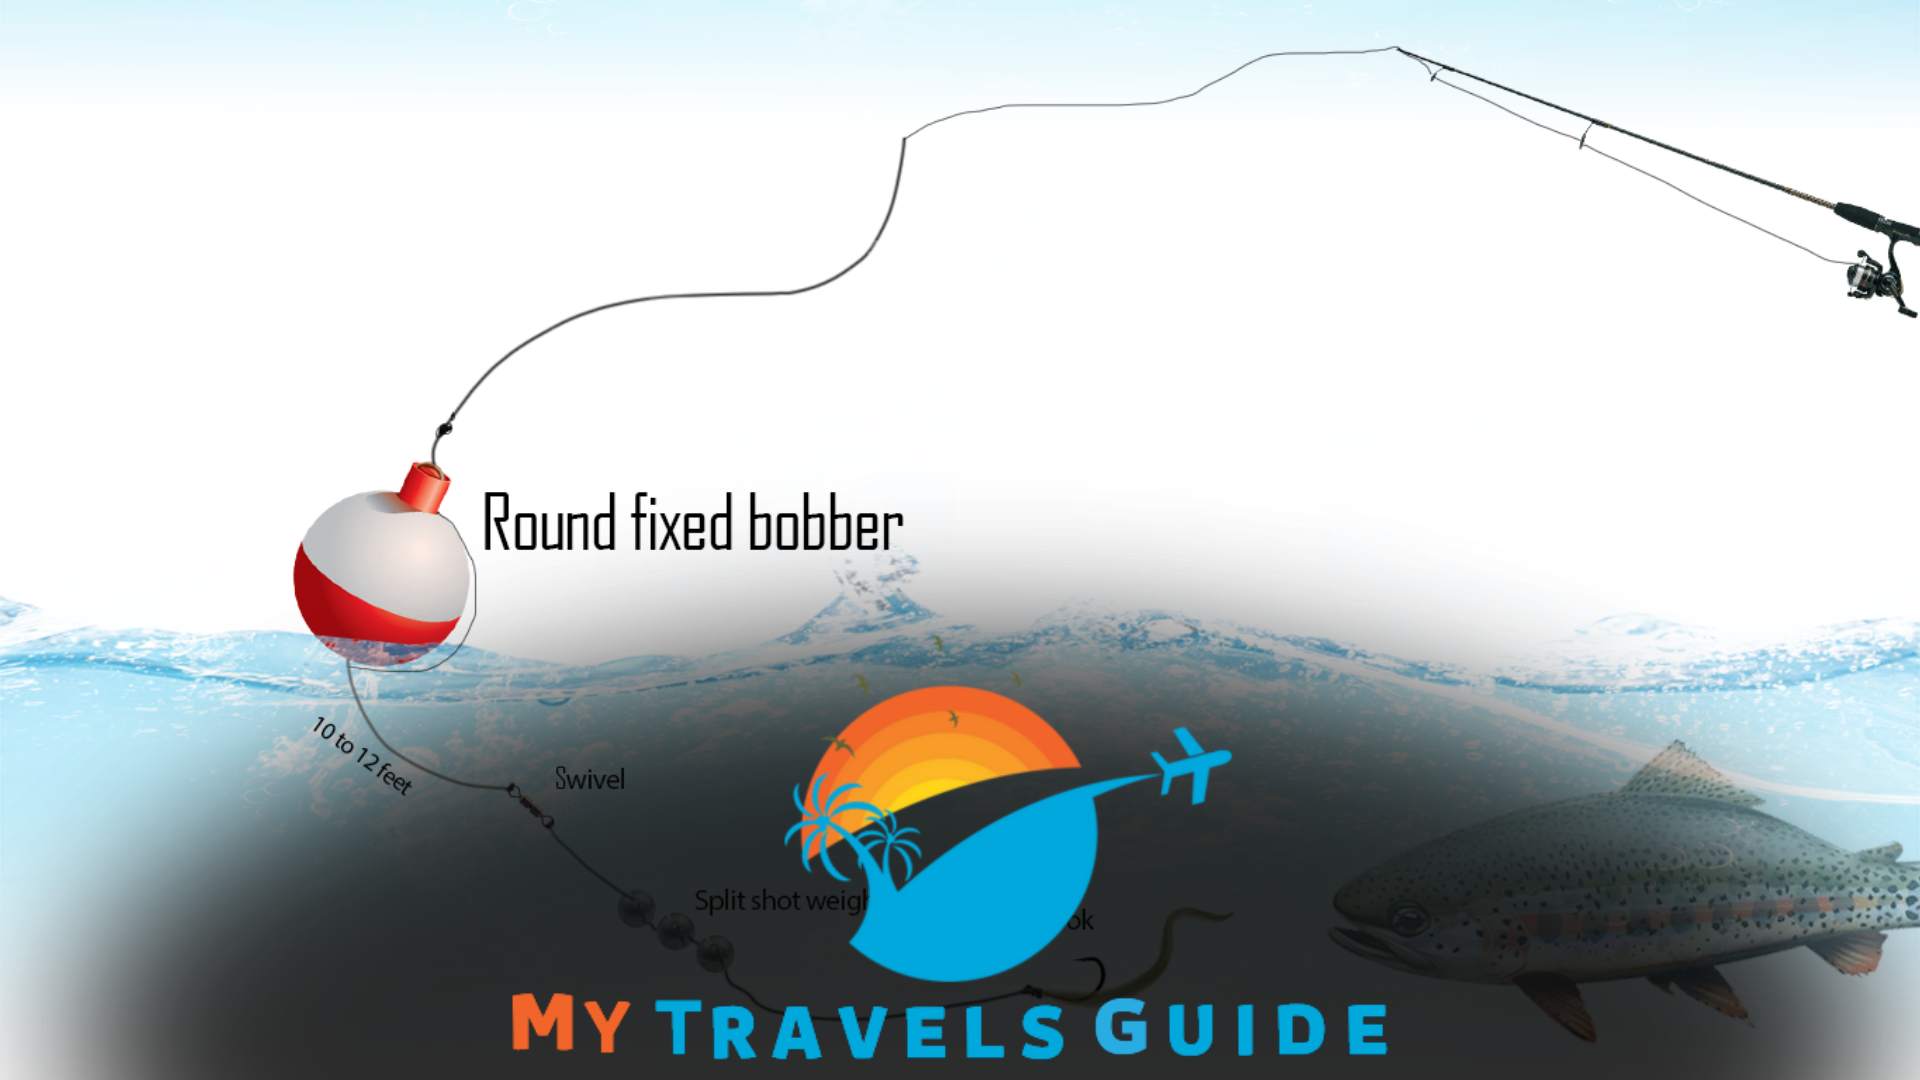
Beginners frequently ask, “Where do I start?” when it comes to fishing. Our comprehensive guide covers everything, from choosing the right equipment to demonstrating exactly how to set up a fishing rod for success on the water.
Conclusion
Building your own fishing rod is a fulfilling endeavor that allows you to create a custom rod tailored to your fishing needs. By following the step-by-step process outlined in this article, you can craft a fishing rod with the materials and specifications of your choice.
Remember to take your time, pay attention to detail, and enjoy the journey of creating something unique. Now, it’s time to grab your tools, unleash your creativity, and embark on the exciting journey of making your own fishing rod.
FAQs
Is making a fishing rod difficult?
Building a fishing rod requires some patience and attention to detail, but it is a manageable task for most fishing enthusiasts. With the right materials and following the proper steps, you can successfully create your own fishing rod.
How long does it take to make a fishing rod?
The time required to make a fishing rod depends on various factors, including your level of experience, the complexity of the design, and the drying time of the epoxy. On average, it may take several hours spread over a few days to complete the process.
Can I customize the rod’s specifications?
Absolutely! One of the advantages of making your own fishing rod is the ability to customize it according to your preferences. You can select the length, action, power, handle material, and other specifications to create a rod that suits your fishing style.
Do I need specialized tools to make a fishing rod?
While there are specialized tools available for rod building, you can get started with basic tools such as thread, epoxy, sandpaper, and a rod wrapper. As you gain more experience, you may consider investing in additional tools to enhance your rod-building capabilities.
Can I repair my existing fishing rod using these techniques?
Yes, the same techniques can be applied to repair a damaged fishing rod. Whether it’s replacing a broken guide or rewrapping the thread, you can use the steps outlined in this article to restore your rod to its former glory.